How to setup your Myslots account to get the most for your business
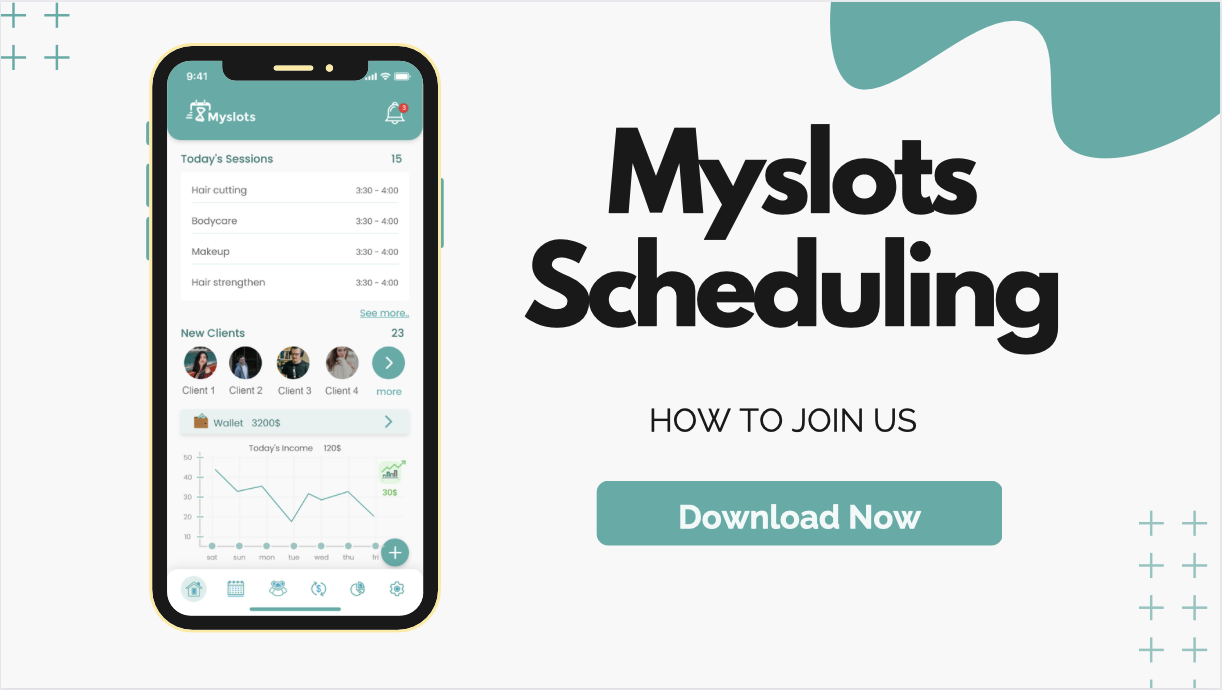
Download Myslots Scheduling Application
Myslots Scheduling app is designed for on-the-go use, making it easy to manage your appointments from your mobile phone or tablet. To get started, simply download the app to your device. Myslots is available for both Android and iOS devices, so you can download the app from the Google Play Store or the App Store, depending on your device. Once you’ve downloaded the app, you can setup your Myslots account and start scheduling appointments with ease.
Register to a new account in Myslots Scheduling App
To register for a Myslots account, start by downloading the Myslots Scheduling app. On the login page, click on the “Register” button to create a new account. Alternatively, you can register for an account through this link if you haven’t downloaded the app yet.
During the registration process, you’ll be prompted to enter your email and phone number. Next, you’ll need to provide your business information, including your business name, identifier, and password. Make sure to fill out all required fields accurately.
Your business name will appear as the header on your booking page, so make sure it’s recognizable to your clients. Your identifier will be used to create a unique subdomain for your booking page on the “myslots.app” domain. It should only contain English characters, numbers, or hyphens. For example, if your business name is “Joss Ink,” you could choose “joss” or “joss-ink” as your identifier. This would allow clients to access your booking page at “joss.myslots.app” or “joss-ink.myslots.app.”
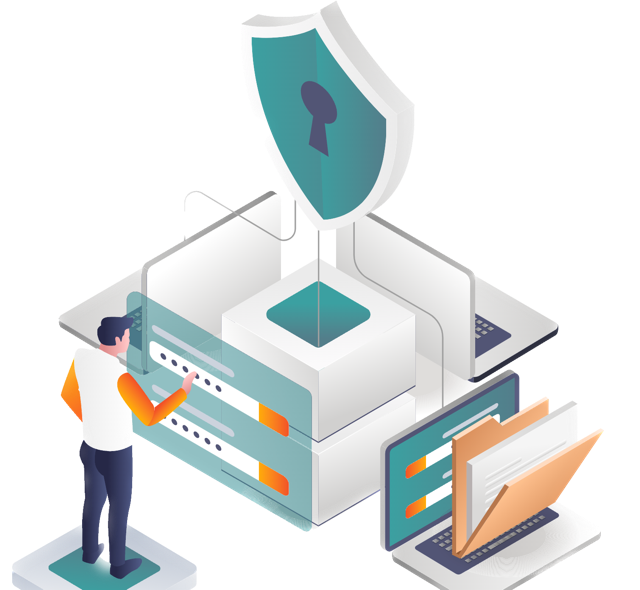
Choose a strong password to protect your business information. Your password should be at least 8 characters long and include uppercase and lowercase letters, special characters, and numbers.
If you encounter any issues while registering for an account, don’t hesitate to contact us for assistance
Login to your Myslots account
After downloading the Myslots app, you can log in to your account using your company identifier, email, and password. If you forget your company identifier, simply click on the “Forgot my company identifier” link on the login page and the app will send you an email with your account information. If you forget your password, you can reset it by clicking on the “Reset Password” link on the login page. You’ll be prompted to confirm your identity by entering an OTP code sent to your registered email address. Once you’ve confirmed your identity, you can set a new password and log in to your account. If you encounter any other issues, don’t hesitate to contact us for assistance.
Onboarding and Introduction
After registering and logging in to the Myslots Scheduling Application, you will be guided through an onboarding process. This will include step-by-step instructions on how to navigate the application and configure your account. You will learn how to set up your booking policy, availability, team members and permissions, services and pricing, client details, appointments and bookings, online payments and withdrawals. Additionally, you will be able to view reports and charts on your bookings, revenue and clients.
Roles and Staff members
In the Myslots Scheduling Application, you can define specific roles and permissions for your staff users and team members using the “Roles” feature. This ensures that each user is only authorized to access and perform actions within their allowed features.
The “Staff” feature allows you to manage other users who can access and manage your account alongside your team members. When you add a new user, they will receive an invitation email containing your account identifier and an auto-generated password. They will be prompted to change this password during their first login. When adding staff users, you must select a role for each one, which will determine their access level and permissions based on the roles you have defined.
Your staff members will be displayed on your booking page with their image, position, Instagram and Facebook accounts. This allows your clients to learn more about your staff members and view their work history. If you prefer not to show your staff members on the booking page, you can disable this feature in the booking page configuration.
Configurations and Booking Policies
When setting up your account on the Myslots Scheduling app, it’s important to make sure that your booking policy is configured correctly. On the “Booking Configuration” page, you’ll find several options that you can customize to match your business needs.
Booking Grace Period
First, there’s the “Booking Grace Period,” which controls the minimum amount of time before a client can book an appointment. This helps prevent any last-minute bookings that you may not be prepared for.
Cancellation Grace Period
Next, there’s the “Cancellation Grace Period” which determines how far in advance a user can cancel their booking.
Appointments Approval
You can also choose to enable “Approval” for your appointments. This allows you to review and approve bookings before they are confirmed, helping to prevent fake bookings. You can even link approval with payment, requiring users to pay either a deposit or the full service price before their booking is approved.
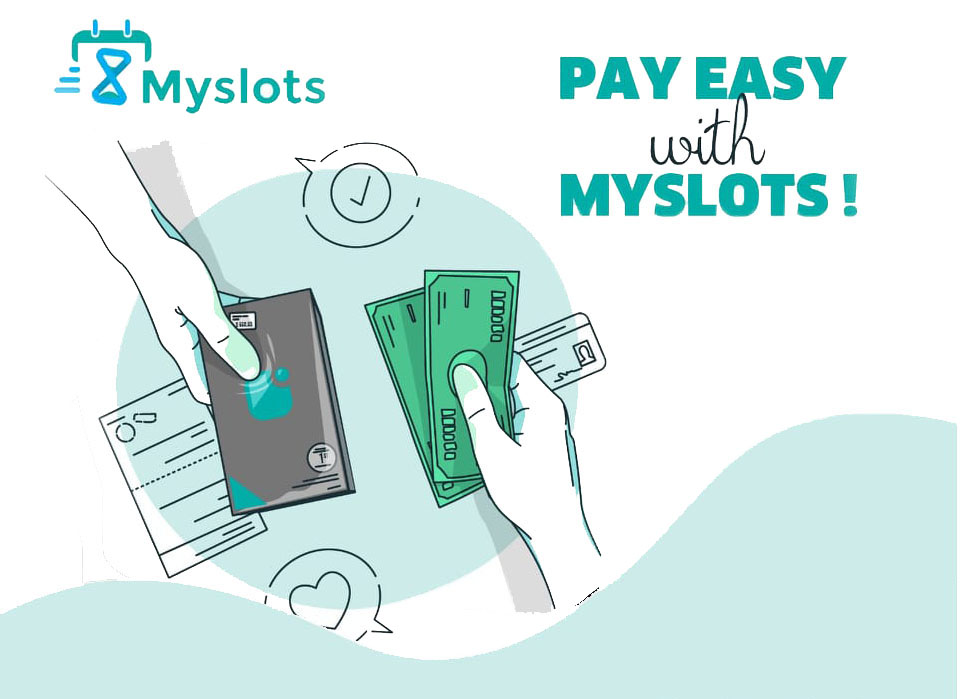
Online Payment
If you choose to enable “Online Payment” your clients will be able to pay for their bookings directly through the app. You can choose whether to require a deposit or full payment at the time of booking.
Business Availability
In the “Business Availability” section, you can set your working hours for each day of the week. This ensures that bookings are only available during your specified hours. If you’re always available, you can select “Always Available” to allow bookings 24/7. Alternatively, you can choose “Custom” to disable weekend days and set specific start and end times for each weekday.
General Settings
It’s also important to check the “General Settings” section to make sure that your timezone, country, and tax percentage are configured correctly. If you’ve enabled online payment, be sure to select your currency as well. These settings will affect the online booking process as well as your reports and charts.
Booking Page
Finally, on the “Booking Page” you can control what information is displayed on your online booking page. For example, you can use the “Access Level” setting to restrict access to your services and details to registered clients only or make them available to anyone with the link.
You can also choose whether or not to show your team members and their information to clients on the booking page using the “Show Your Staff” option.
If you enable “Client Reviews,” a section will be added to your booking page where clients can leave feedback on the services they received.
Additionally, you can use the “About Us” section to provide more information about your business. You can manage the content of this section and even include images to make it more visually appealing.
Services and Pricing
In the “Services” section of the Myslots Scheduling app, you can manage the services that will appear on your booking page. It’s important to carefully define your services to accurately represent your business. Be sure to include details such as the service title, price, duration, and category. It’s also a good idea to provide a detailed description and an attractive image for each service. Additionally, you should select which staff members are able to perform each service. This information is used to calculate availability automatically.
You can use the “Categories” feature to group your services. Categories can be either “Public” or “Private.” Services in a private category can only be accessed using their direct link and will not appear on your public booking page.
To share a service with your clients, simply select it and click on “Share” to generate a direct booking link. You can also deactivate services if you need to temporarily stop bookings for them.
Finally, you can view information about past and upcoming sessions for each service by selecting it and clicking on “View.”